
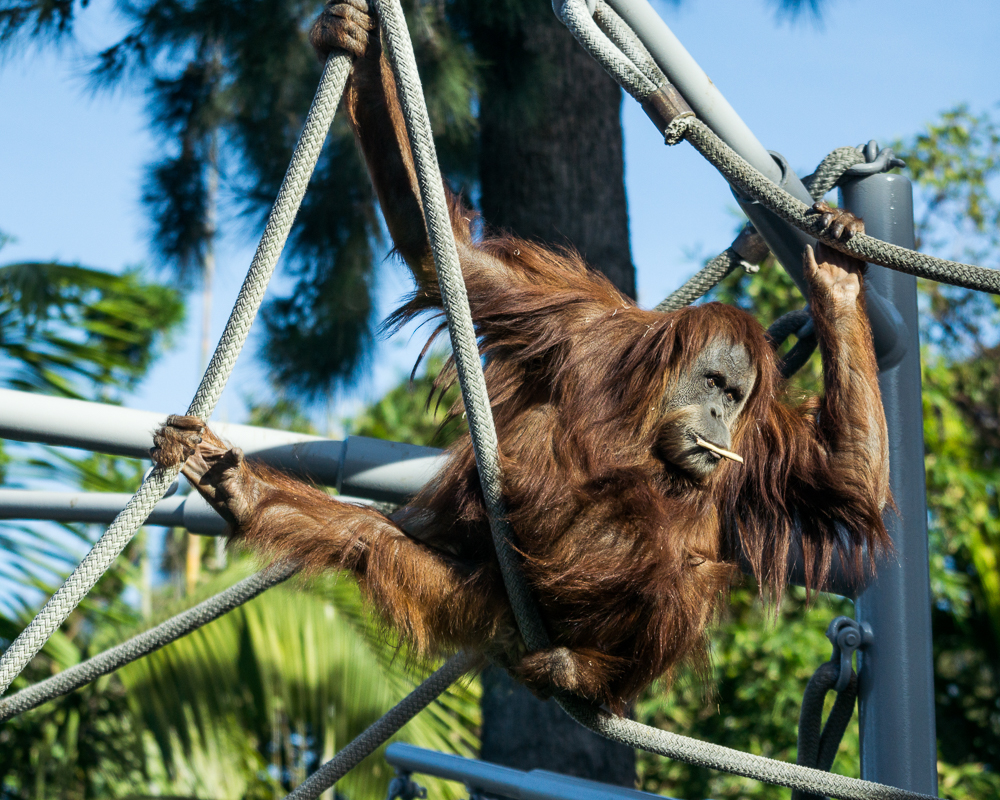
Baby and mama orangutans snacking on grass.
It’s been a whirlwind week for the geektographers. Last week, we travelled to San Diego for a work conference and were able to add a few days to our trip for some great photography adventures.
One of the highlights of our journey was the chance to meet two of our hero photographers at the San Diego Zoo. Michelle has wanted to go to the San Diego Zoo since she was a child, and the visit definitely brought out the kids in us. There we met my master in The Arcanum, the marvelous Karen Hutton, and her friend and fellow Arcanum master Laurie Rubin, who specializes in wildlife photography and knows the San Diego Zoo like the back of her hand. It was great to watch them work–and work alongside them–in the field! Laurie also filmed the following short video of Karen and I to chronicle the experience!
Karen’s question about what I’ve learned got me thinking, and like most introverts, I came up with tons of things to say after the fact. So here are my top tips for shooting at the zoo:
-

There was some harsh light on the orangutans but if you wait around a bit, maybe they will dodge the stark shadows for you.
Go on an overcast day. This seems counter-intuitive, especially if you are not a photographer or just started. You would think that it would be best to have a lot of light and a bright blue sky. But too much light washes out the animal fur and can create some very stark shadows given the nature of the obstacles in the habitat. I found this was true with most of my shots of the orangutans. Sometimes I would get a great expression, but there would be a huge shadow caused by their hands or some other element across their faces.
-
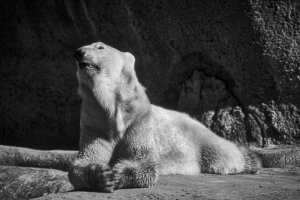
I shot this polar bear through tinted green glass. With the power of post-processing, you can remove most of the tint and other yucky effects of the glass. I processed this using the MacPhun Tonality Pro plug-in.
Don’t be afraid to shoot through the glass. Sometimes this will give you the most intimate portraits, but you need to keep a few things in mind. Try to shoot with the lens as close to the glass as possible, and shoot with the lens perpendicular to the glass. Both techniques will help you eliminate glare.
- Don’t be afraid to shoot through chain link fences. This is a bit tougher, but if you use a large enough aperture, the fence will blur out under certain conditions. The subject should be far enough away from the fence to get the blurred effect. If the critter is too close, the fence will be in focus as well. This counts for fences on the other side of the habitat as well, which can make for some not so pretty backgrounds.
-

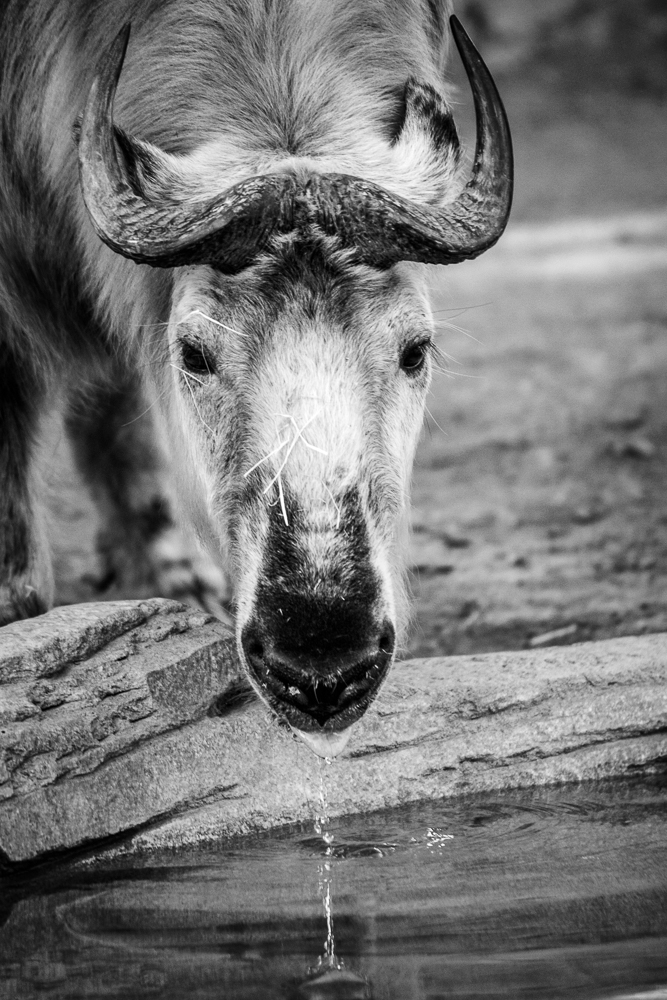
I got some great eye contact with this takin while waiting in the line for the pandas.
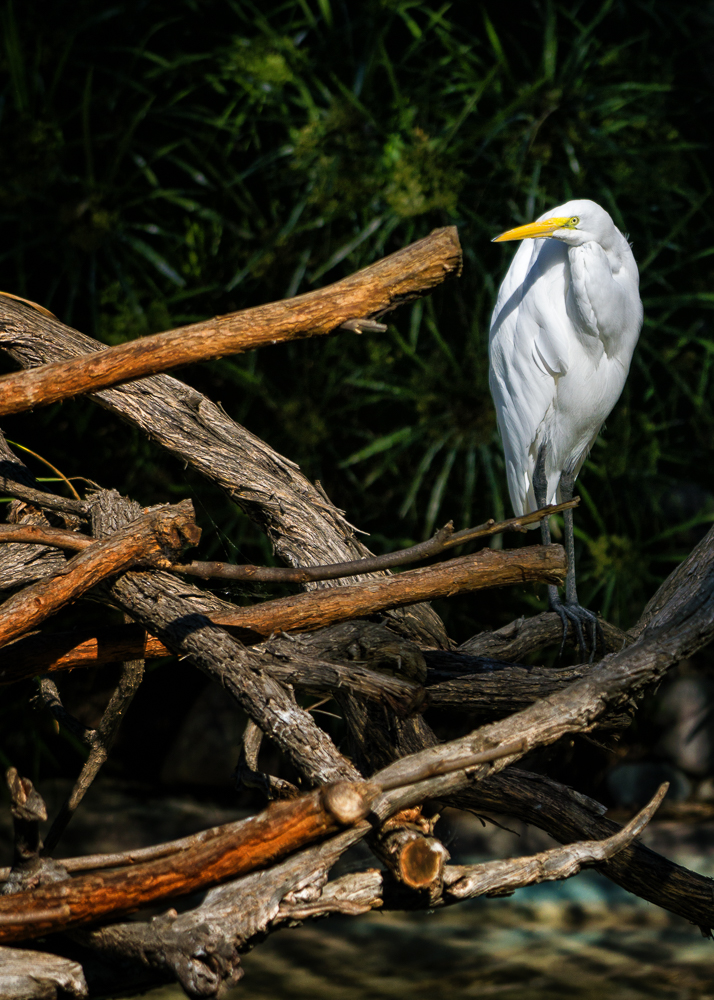
Try to find out something about animal behavior. We were lucky enough to shoot with wildlife photographer Laurie Rubin, who knows a lot about the ways animals act under certain circumstances. For example, when a bird splashes water on its back, get ready, because the bird will flap its wings for a great motion shot. Likewise, it helps to know when the animals will be the most active. When we went to the San Diego Zoo, for example, the Lions were happy just to nap. The next day at the Safari Park, we got to the Lions earlier in the day, and they were quite animated and playful. Likewise, we saw the cheetahs at the Safari Park right after feeding time. We got to see them eat and frolic before settling down to clean themselves and nap.
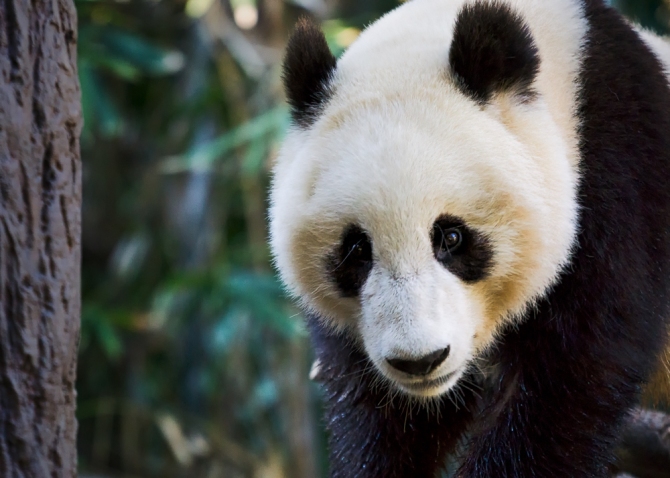
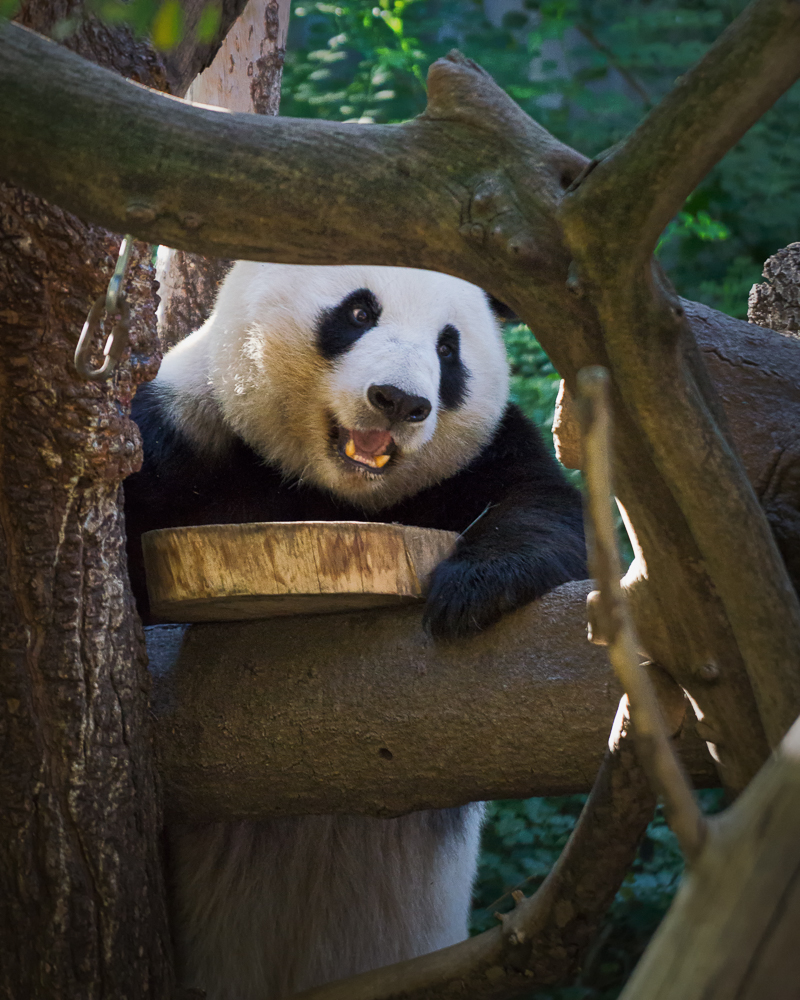
We were lucky and got to the pandas right before feeding time, which meant they were curious and playful.
-
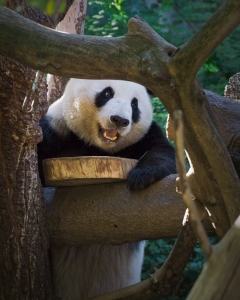
The keepers hide the food in the habitat to encourage the pandas to hone their foraging skills.
Use a long focal length to crop in tight to the action. We had our Sony a6000 with a 70-200mm focal length. Since that is a crop-sensor camera, we had the equivalent of 300mm. Now that pales in comparison to the 100-600mm Tamron lens that Karen was lugging around. Not that I’m jealous or anything.
- If an animal is feeling lazy, check back with them later in the day. In the morning, we walked by the snoozing polar bears. We went by later that afternoon and were able to catch a few waking moments for some portrait shots.
- Regardless of the circumstances, have fun shooting anyway. We visited both the Zoo and Safari Park on very bright, harshly-lit days. That didn’t stop us from trying to find good shots or from having fun. Sometimes you can’t plan a shoot around the weather, especially if you’re visiting another city, so make the best of it!


All of the pictures here are from our morning at the zoo. We will have another gallery and post with images from the Safari Park soon!


best.blog.post.ever!
LikeLiked by 1 person
High praise. I blame KHutt. 🙂
LikeLike
I’d blame her too. shes a wild one. she’ll lead you astray that lady 😉
LikeLike